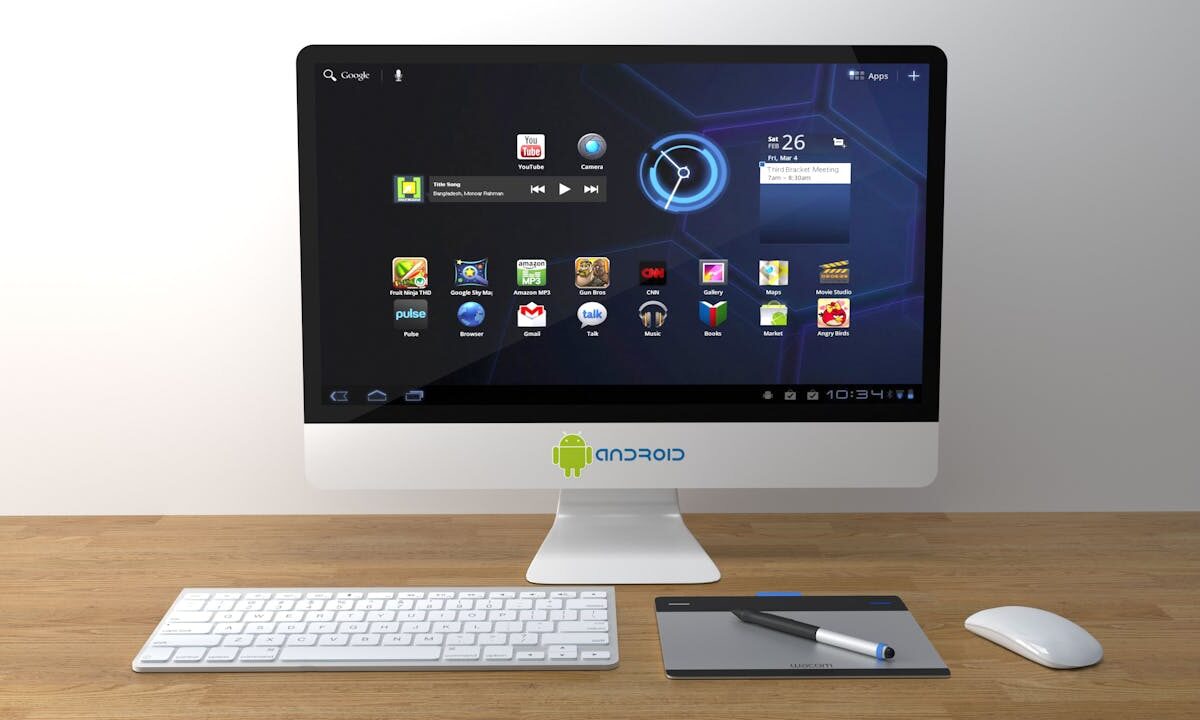
Android emulators are virtual devices. They virtualize the hardware and software of real Android devices. They help developers test and debug applications without the requirement for physical devices. On macOS, emulators are important because they enable app development in a versatile and controlled environment.
Android emulators for Mac help ensure apps work correctly across different devices and scenarios. They allow you to test and debug applications in a controlled environment. On macOS, configuring and optimizing these emulators can improve performance and efficiency.
This blog explores advanced configurations and optimization techniques to enhance your Android emulator Mac experience. You will learn about custom screen resolutions, virtual device properties, network settings, managing snapshots, and external tool integrations.
Advanced Configurations of Android Emulator Mac:
Here are a few advanced configurations of Android Emulator Mac:
Configuring Custom Screen Resolutions
Custom screen resolutions can help you test your app on various device sizes. Here’s how to set up custom screen resolutions.
- Accessing AVD Manager: Open Android Studio and go to AVD Manager. Select the virtual device you want to configure and click on “Edit.”
- Setting Custom Resolution: Enter your desired screen resolution under the “Advanced” section. Specify the width, height, and DPI values.
- Testing Different Devices: Create multiple AVDs with different resolutions. This allows you to test your app on a variety of device sizes.
- Saving Custom Profiles: Save your custom screen resolution profiles. This makes it easy to apply the same settings to new virtual devices.
- Verifying Configuration: Start the emulator and check if the custom resolution is applied correctly. Adjust as needed to ensure it matches your specifications.
Configuring Virtual Device Properties
Customizing virtual device properties enhances your testing environment. Consider using cloud-based platforms for even more scalability and access to various virtual devices. Here’s how to configure advanced properties for your AVD.
- Accessing Device Properties: Open AVD Manager and select the device you want to configure. Click “Edit” to access the device settings.
- Adjusting Hardware Profiles: Modify hardware properties like RAM, CPU, and storage. Set these based on the specifications of real devices you want to emulate.
- Customizing Boot Options: Choose between Quick Boot and Cold Boot. Quick Boot saves time by loading the emulator state, while Cold Boot ensures a fresh start.
- Setting Up Virtual Sensors: Configure virtual sensors like GPS, accelerometer, and gyroscope. This helps you test features that rely on sensor data.
- Using Device Skins: Apply device skins to make the Android emulator Mac look like a real device. This provides a more realistic testing environment.
Configuring Network Settings
Advanced network configurations allow you to test your app under various conditions. Here’s how to set up network settings in your emulator.
- Accessing Network Settings: Open the Android emulator Mac and navigate to the “Extended Controls” menu. Go to the “Settings” tab and find the network options.
- Configuring Latency: Add network latency to simulate delays. This is useful for testing how your app handles slow network connections.
- Using Custom DNS: Configure custom DNS settings if needed. This can help with testing apps that require specific network configurations.
- Testing Offline Mode: Disable the network to test how your app behaves without internet connectivity. Ensure your app handles offline scenarios gracefully.
Integrating External Tools and Plugins
Integrating external tools and plugins can enhance the functionality of your emulator. Here’s how to configure these integrations on macOS.
- Choosing the Right Tools: Identify tools and plugins to benefit your development process. Examples include profiling tools, debugging plugins, and automation scripts.
- Installing Plugins: Install necessary plugins through Android Studio. Navigate to the “Plugins” section in the settings and search for the tools you need.
- Configuring Integrations: Follow the setup instructions provided by each tool. Ensure they are correctly integrated with your Android emulator.
- Testing Integrations: Run your emulator with the integrated tools. Verify that they work as expected and provide the desired functionality.
- Automating Tasks: Use plugins and tools to automate repetitive tasks. This can save time and improve your development workflow.
Optimization of Android Emulators on macOS
Below are some of the optimization techniques of Android emulators on macOS:
Allocating Sufficient RAM and CPU Resources
Allocating enough RAM and CPU resources is crucial for optimal emulator performance. Here’s how to configure these settings effectively.
- Determine Optimal RAM and CPU: Research the recommended specifications for your development needs. More intensive tasks require higher allocations.
- Adjusting Resources in Android Studio: Go to AVD Manager and select your device. Click Edit, then customize RAM and CPU settings under “Advanced.”
- Monitoring Resource Usage: Use Activity Monitor on macOS to observe how much RAM and CPU the emulator consumes.
- Balancing System Performance: Ensure your macOS has enough resources for other applications while running the emulator.
- Avoiding Overallocation: Allocating too much can slow down your macOS. Find a balance between emulator performance and system health.
Choosing the Right System Image (x86 vs. ARM)
Selecting the appropriate system image is essential for emulator performance. Here’s how to choose between x86 and ARM images.
- Understanding System Images: x86 images offer better performance due to hardware acceleration. ARM images may be necessary for specific app requirements.
- Performance Comparison: x86 images run faster and more efficiently on Intel processors. ARM images might be slower but provide broader compatibility.
- Selecting the Right Image: Choose x86 for general development. Opt for ARM if you need to test ARM-specific applications or hardware.
- Configuring in AVD Manager: In AVD Manager, create a new virtual device and select the appropriate system image under “System Image.”
- Testing and Adjusting: Run your app on both images to see performance differences. Adjust based on your app’s needs and development goals.
Utilizing Quick Boot and Cold Boot Options
Quick Boot and Cold Boot options affect how your Android emulator Mac starts. Here’s how to configure and use these options effectively.
- Understanding Quick Boot: Quick Boot saves the emulator’s state, allowing it to start faster the next time you use it.
- Setting Up Quick Boot: Go to AVD Manager, select your device, and ensure Quick Boot is enabled in the settings.
- Using Cold Boot: Cold Boot starts the emulator fresh each time. It can be slower but ensures a clean state for testing.
- Switching Between Options: Use Quick Boot for regular development. Switch to Cold Boot if you encounter persistent issues or need a clean start.
- Maintaining Emulator Performance: Regularly use Cold Boot to avoid potential issues caused by continuously using Quick Boot.
Optimizing Disk I/O Performance
Disk I/O performance is critical for Android emulator Mac speed. Here are ways to optimize disk I/O for better performance on macOS.
- Using SSDs: Ensure your macOS runs on an SSD. It produces faster read and write speeds than a traditional Hard Disk Drive.
- Configuring Emulator Storage: You can configure the emulator’s internal storage settings. You can optimize performance in the Android virtual device Manager.
- Clearing Cache Regularly: Clear the emulator’s cache periodically to prevent slowdowns caused by accumulated data.
- Avoiding Large System Images: Use the smallest system image necessary for your development. Large images can slow down disk performance.
- Monitoring Disk Usage: You can use the disk utility feature to monitor disk health and usage. Regular maintenance can prevent performance issues.
Managing Emulator Snapshots Efficiently
Snapshots save the emulator’s state for quick recovery. Here’s how to manage snapshots effectively.
- Creating Snapshots: Go to the “Extended Controls” in the emulator and create a snapshot. Name it clearly for easy identification.
- Restore Snapshots: You can save time by quickly returning to a previous state.
- Delete Snapshots: It is a best practice to delete the snapshots you no longer need. You can free up disk space. This can improve the performance of the entire system.
- Naming Conventions: Snapshots must contain descriptive names. This makes it easier to identify and manage them.
- Automating Snapshot Management: Consider using scripts to automate the creation and deletion of snapshots based on your development workflow.
Tuning Network Settings for Better Performance
Network settings affect Android emulator Mac connectivity. Here’s how to configure them for optimal performance.
- Configuring Network Speed: In AVD Manager, set the network speed to match your development environment. This ensures realistic testing conditions.
- Simulating Network Conditions: Use the emulator’s network settings. You can simulate different conditions like 3G, 4G, or Wi-Fi.
- Connectivity: Your macOS should be connected to a stable network. Poor connectivity can affect emulator performance.
- Using Proxy Settings: Configure proxy settings if your development requires specific network configurations. This can improve access and performance.
- Monitoring Network Traffic: Use network monitoring tools to observe traffic. Identify and troubleshoot any issues affecting performance.
Using Command-Line Tools for Performance Tuning
Command-line tools offer advanced options for Android emulator Mac management. Here’s how to use them for performance tuning.
- Using the emulator Command: The emulator command offers various options for starting and managing the emulator. Use an emulator to help you see all the available commands.
- Configuring Performance Options: Use commands to set performance-related options like RAM and CPU. This provides more control than the GUI.
- Automating Tasks Create scripts to automate repetitive tasks. This can save time and ensure consistent performance settings.
- Monitoring Emulator Performance: Use command-line tools to monitor emulator performance. Commands like top can show resource usage in real time.
- Troubleshooting with Logs: Access detailed logs using command-line tools. This helps identify and fix performance issues efficiently.
You can leverage the virtual device in no time and test your application on the cloud using the LambdaTest Android emulator. LambdaTest is an AI-powered test orchestration and execution platform that lets you conduct manual and automation tests at scale with over 3000+ browsers, versions, real devices, and operating systems for Android emulator app testing. It also has exciting features, such as providing Android emulators for Mac users. This platform allows you to simulate and perform Android automation on your Mac computer.
With the LambdaTest Android emulator, you can verify that your Android apps function correctly across various Android devices (including popular models like Samsung Galaxy, Google Pixel, and more) and versions.
This tool is particularly beneficial for developers who lack access to physical Android devices or prefer to conveniently test their apps on various virtual devices. Besides Mac, the Android emulator is available for Windows and Linux for browser and app testing.
Conclusion
Configuring and optimizing the Android Mac emulator can improve your development workflow. You can create a versatile testing environment by customizing screen resolutions, adjusting virtual device properties, and configuring network settings.
Integrating external tools and setting up multi-device testing further expands the process. These advanced configurations help your app perform well across various conditions and devices. Implement these strategies to ease your development process and deliver high-quality applications.


