Let’s face it, bathrooms are battlegrounds for precious storage space. Cramming in all your toiletries, medications, and bathroom essentials can feel like a constant Tetris match. Enter the trusty medicine cabinet: a bathroom hero that provides hidden storage while keeping your essentials readily accessible. But before you rush to mount your new cabinet, understanding medicine cabinet bathroom installation tips is crucial for a seamless and secure outcome.
While the general principles of hanging a cabinet might seem straightforward, there are some nuances specific to medicine cabinets. This guide will equip you with the knowledge and confidence to tackle your medicine cabinet installation like a pro.
Choosing the Right Medicine Cabinet
Before diving into installation, let’s address the elephant in the room: choosing the right medicine cabinet. Functionality and aesthetics go hand-in-hand here. Consider these factors:
- Size and Style: Head over to Wellfor’s extensive collection of Mirrors & Medicine Cabinets (https://www.wellfor.com/collections/mirrors-medicine-cabinets) to explore a variety of sizes and styles. Opt for a cabinet that complements your bathroom’s size and décor.
- Recessed vs. Surface-Mount: Recessed cabinets provide a sleek, built-in look but require cutting into the wall. Surface-mount cabinets are easier to install but protrude from the wall.
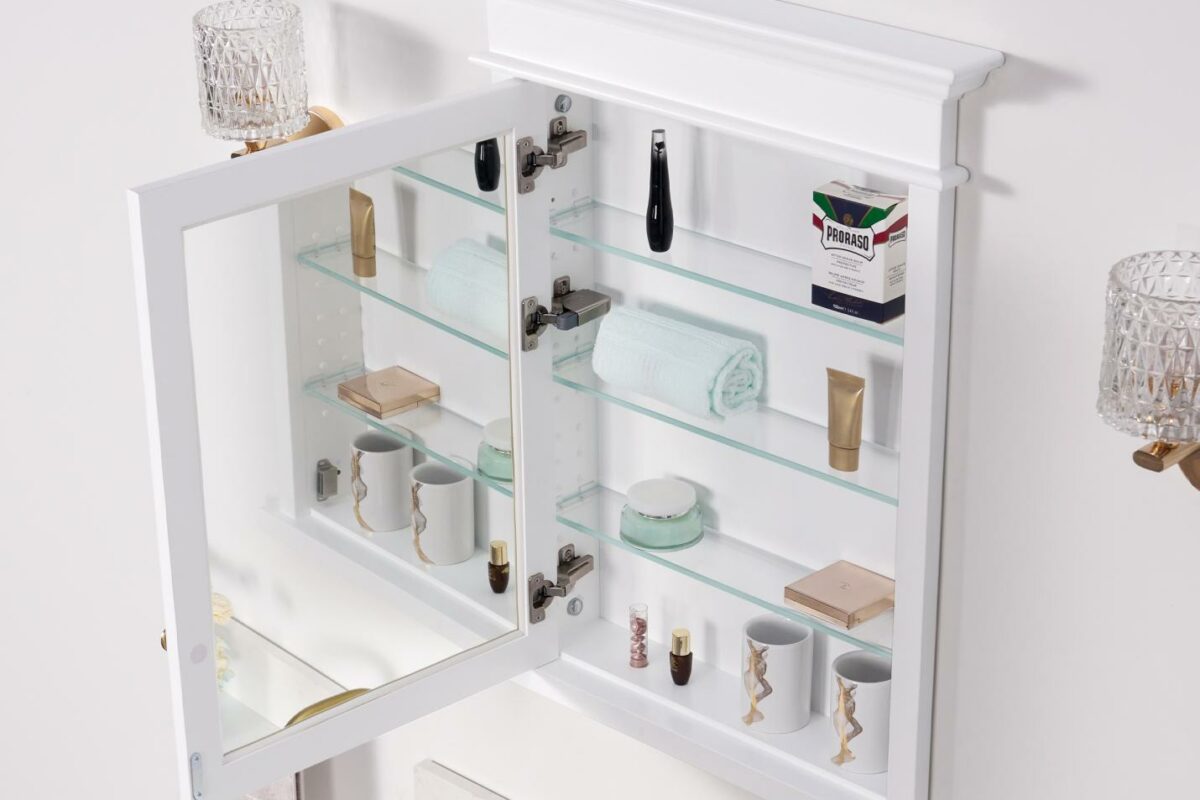
- Storage Needs: If you have a large family or extensive medication needs, opt for a multi-shelf cabinet.
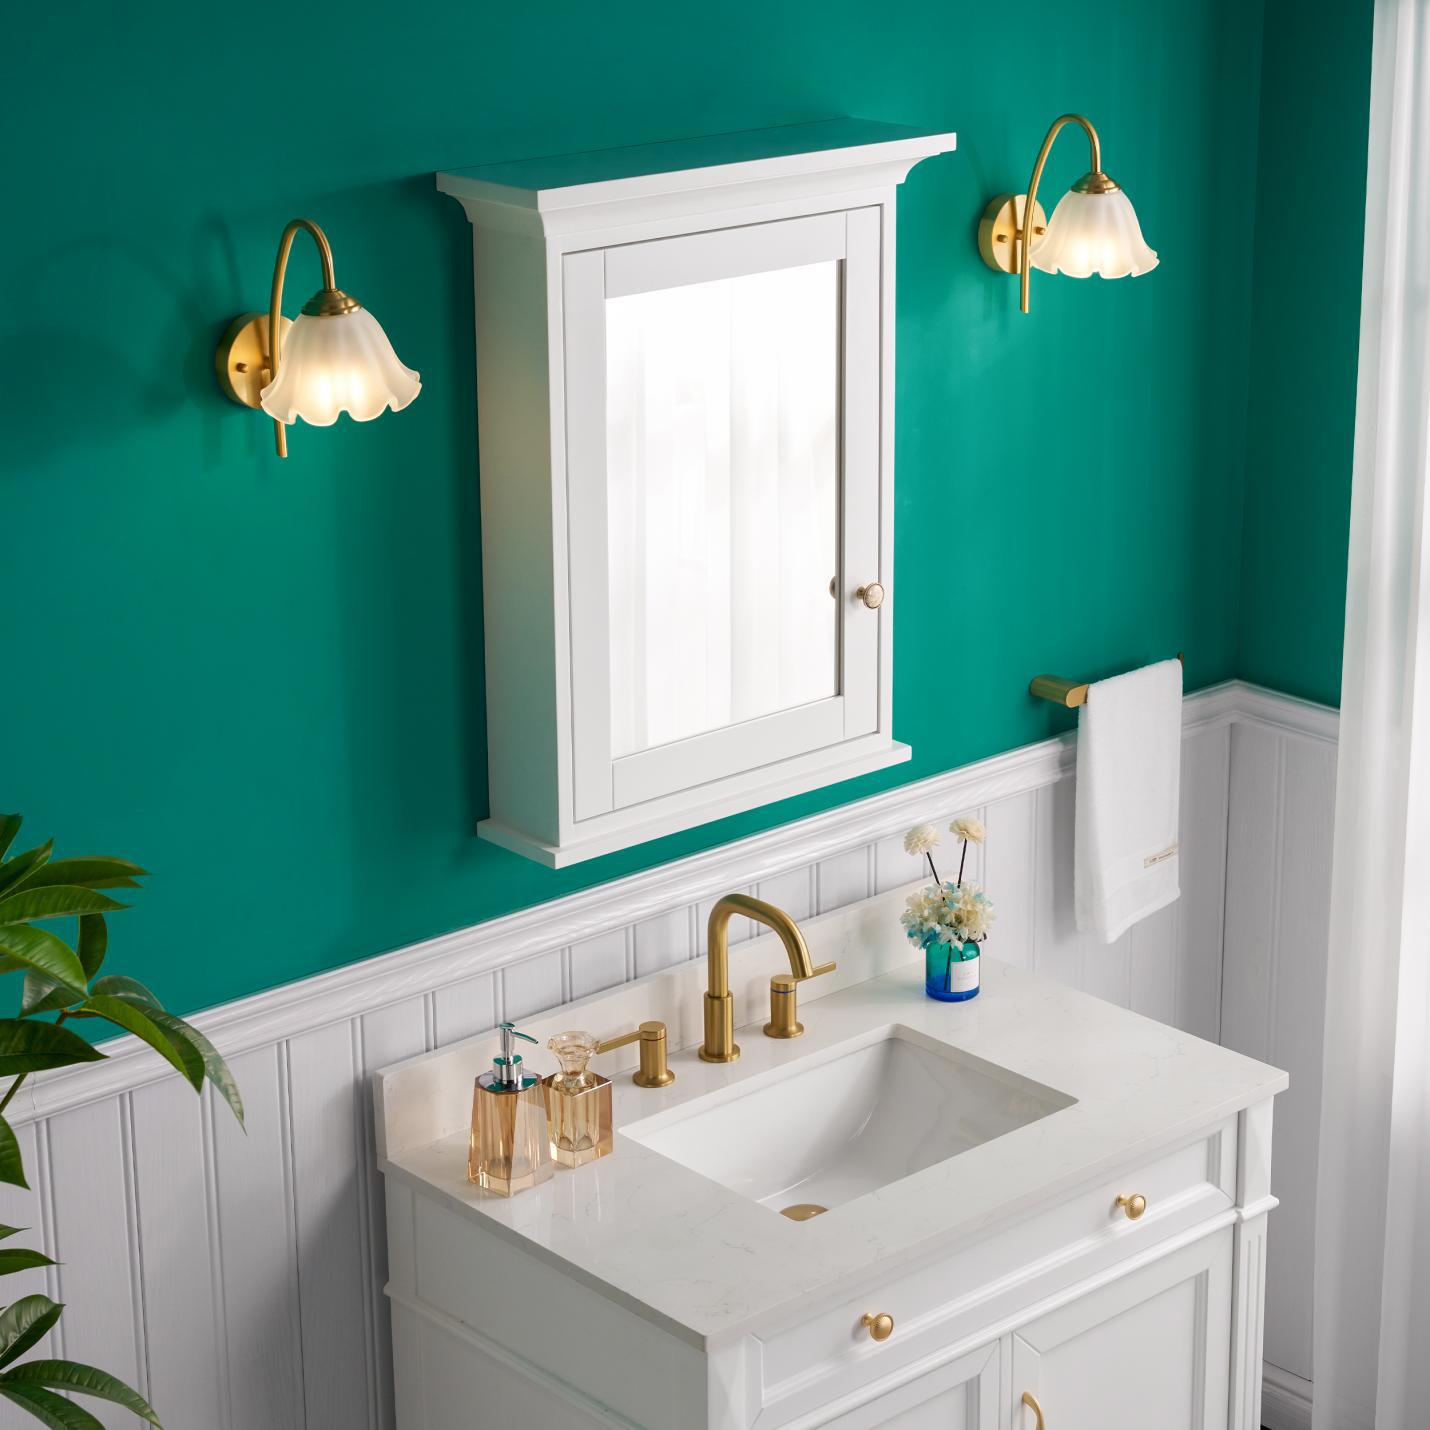
- Mirror Integration: A mirrored cabinet provides additional functionality and makes your bathroom feel more spacious.
Essential Tools and Materials

Once you’ve chosen your champion cabinet, gather the necessary tools:
- Stud finder
- Level
- Pencil
- Drill (with appropriate drill bits)
- Screwdriver
- Utility knife (for surface-mount cabinets)
- Saw (for recessed cabinets) – Keyhole saw or drywall saw
- Tape measure
- Safety glasses
- Caulk (optional, for a polished finish)
- Anchors (if not mounting directly on studs)
Installation Tips for Success
Now comes the fun part (well, maybe)! Here’s a breakdown of the installation process, tailored to both recessed and surface-mount styles:
Recessed Medicine Cabinet Installation:
- Mark Your Territory: Utilize the stud finder to locate wall studs. Mark their positions lightly on the wall. This is crucial as studs provide the most secure support for your cabinet.
- Plan Your Placement: Carefully position your cabinet on the wall, ensuring it’s level and centered according to your preference. Use the level to ensure straight alignment. Mark the cabinet’s outline in pencil.
- Inspecting the Wall Cavity: Before diving into demolition, use a utility knife to carefully cut a small inspection hole within the cabinet outline (on the stud side). This allows you to peek inside the wall cavity for any potential electrical wires or plumbing that might obstruct your installation.
- Cutting the Wall (Proceed with Caution): If the coast is clear, don your safety glasses and use a saw (keyhole or drywall saw) to meticulously cut along the marked outline. Be mindful not to cut deeper than the drywall thickness.
- Framing for Support (Optional): If the cabinet doesn’t align perfectly with studs on both sides, you might need to add framing support. Cut two pieces of 2×4 lumber to fit the height of the opening. Carefully insert them into the wall cavity (on the non-stud side) and secure them with construction adhesive and screws into the drywall and studs.
- Mounting the Cabinet: Carefully position the cabinet within the opening, ensuring it sits level. Use the pre-drilled mounting holes in the cabinet and drill pilot holes through them into the studs. Secure the cabinet with appropriate screws.
- Finishing Touches: Once the cabinet is secure, apply a bead of caulk around the edges of the cabinet to ensure a watertight seal and a polished look. Let the caulk dry completely before adding shelves and organizing your bathroom essentials.
Surface-Mount Medicine Cabinet Installation:
- Marking and Leveling: Position the cabinet on the wall. Use a level to ensure it’s perfectly horizontal. Once happy with the placement, mark the mounting holes on the wall through the cabinet itself.
- Drilling and Anchoring (if needed): If the mounting holes don’t line up with studs, use a drill with the appropriate bit size to create pilot holes. For secure mounting in drywall, choose the right size and weight capacity drywall anchors.
- Securing the Cabinet: Screw the cabinet directly into the studs using appropriate screws.
- Anchors and Securing: If you’re using anchors, insert them firmly into the pilot holes. Ensure they’re securely in place before proceeding. Now, align the cabinet with the marked holes and screw it into the anchors or directly into the studs.
- Level Check: Double-check that the cabinet is level using your level. Make any necessary adjustments before tightening the screws completely.
- Caulk and Finish: For a professional finish, apply a bead of caulk around the edges of the cabinet where it meets the wall. This helps prevent moisture damage and creates a clean look. Allow the caulk to dry completely before using the cabinet.
Additional Tips for Medicine Cabinet Installation
- Safety First: Always wear safety glasses and gloves during the installation process.
- Measure Twice, Cut Once: Accurate measurements are essential for a perfect fit. Double-check all measurements before drilling or cutting.
- Consider Electrical and Plumbing: If you’re unsure about the location of electrical wires or plumbing pipes, use a stud finder with electrical wire detection capabilities or consult a professional.
- Ventilation: Ensure your medicine cabinet has adequate ventilation to prevent moisture buildup and mold growth. Some cabinets come with built-in ventilation, while others may require additional venting.
- Weight Capacity: Be aware of the weight capacity of your medicine cabinet. Avoid overloading it to prevent damage.
- Professional Help: If you’re unsure about any step or encounter unexpected challenges, don’t hesitate to seek professional help.
Maintaining Your Medicine Cabinet
Proper maintenance ensures your medicine cabinet lasts and functions optimally.
- Regular Cleaning: Wipe down the cabinet’s exterior and interior regularly with a soft cloth and mild cleaning solution.
- Prevent Moisture Buildup: Ensure proper ventilation to prevent condensation and mold growth.
- Avoid Harsh Chemicals: Avoid using abrasive cleaners or harsh chemicals that can damage the cabinet’s finish.
- Check Hardware Regularly: Periodically check the hinges, screws, and other hardware for tightness and wear.
Common Medicine Cabinet Installation Mistakes
To help you avoid common pitfalls, here are some mistakes to watch out for:
- Incorrect Placement: Choosing a location that’s too high or low can be inconvenient and uncomfortable.
- Improper Leveling: A crooked cabinet can look unsightly and affect its functionality.
- Ignoring Stud Location: Not securing the cabinet to studs can lead to instability.
- Overloading: Exceeding the weight capacity can cause the cabinet to sag or fall.
By following these tips and avoiding common mistakes, you can successfully install your medicine cabinet and enjoy its benefits for years to come.